
If you’re considering starting out in the world of model making, there are a few things you should know before getting started. This guide will cover everything from choosing the right materials to assembling your models.
Plus, we’ve included tips and tricks for beginners to get the most out of their photo etching projects. So be sure to read on for all the information you need to get started!
What is Photo Etching?
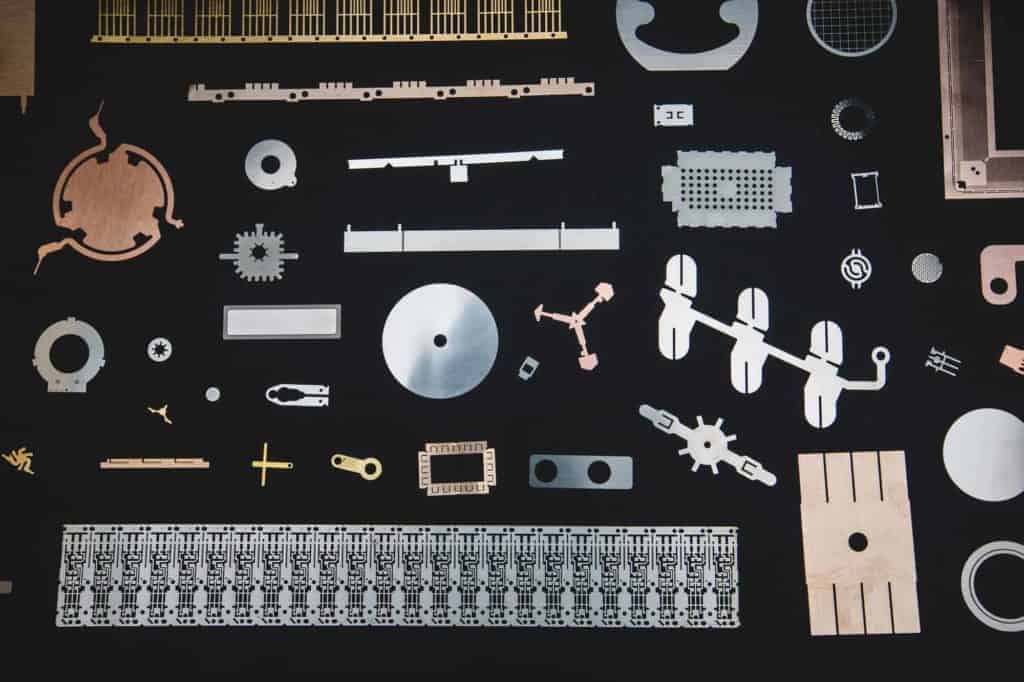
Photo etching is a type of metalworking that uses an acidic solution and a metal plate to create intricate designs or images. You can do it at home with basic supplies, but it takes some practice and patience to get good results. In this blog post, we’ll cover some tips and tricks for beginner modelers who want to give photo etching a try.
1. Get the right tools
If you’re new to photo etching, your first step is to gather the necessary supplies. You’ll need an acid solution (usually diluted sulfuric or nitric acid), a pot that can hold the solution, a metal plate, and a spoon. Some models also require sandpaper or steel wool for finishing touches.
2. Prep your surface
Before you start etching, make sure your surface is clean and free from grease, dust, or other debris. If your plate isn’t thoroughly cleaned before you start etching, the acid will damage the plate’s finish.
3. Dilute the acid
To begin etching, mix the acid solution with water as needed until it reaches a balanced pH (about 7). The lower the pH number, the stronger the acid will be.
4. Apply the acid
Pour the acid solution onto the metal plate, making sure to cover the entire surface. Allow the acid to etch the metal for a set amount of time (usually about 30 minutes).
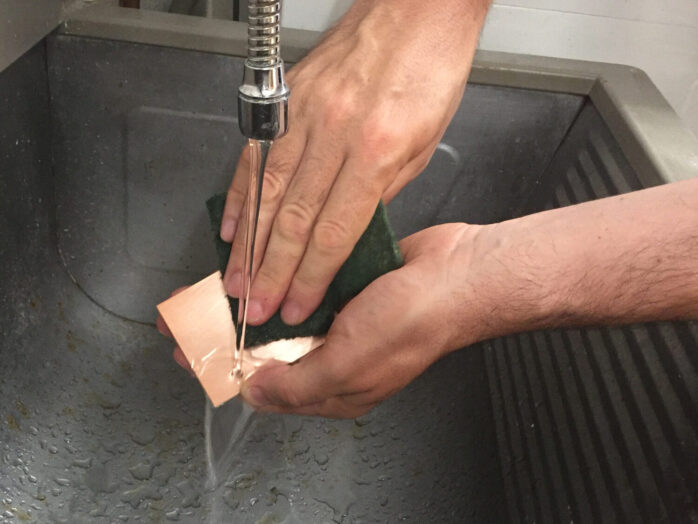
5. Rinse and dry
After etching is complete, rinse the plate with water and dry it off. If you want to add any decorative details, you can do so now using sandpaper or steel wool.
6. Finish up
Once everything is dry, your project is ready for finishing touches. If necessary, you can use additional sandpaper or steel wool to make final adjustments. And that’s all there is to it! Photo etching is a fun and easy way to add detail or create complex designs in your modeling projects.
Types of Photo Etching Filters

If you’re new to photo etching, there are a few different types of filters you’ll want to be aware of. The three main types of filters are the UV, the IR, and the Chloride.
- UV filters: UV filters protect your photos from damage caused by the sun’s ultraviolet light. They come in several types, including a circular polarizer and a neutral density filter.
- IR filters: IR filters let you darken or brighten areas of your photo without affecting the rest of the image. They come in several varieties, including a linear polarizer and an infrared cut filter.
- Chloride filters: Chloride filters reduce the amount of light passing through your photo, which can be helpful if you’re trying to create a dark image or if you want to selectively remove light from specific areas of your photo. They come in two varieties, a graduated neutral density filter and a clear neutral density filter.
Tools and Supplies You’ll Need
If you’re a beginner, you’ll need some basic tools and supplies to get started. Here’s what you’ll need:
- An etching plate or block (preferably with a non-porous surface).
- A drawing board or other surface to work on.
- A pencil or other marking tool.
- Watercolor paper (optional).
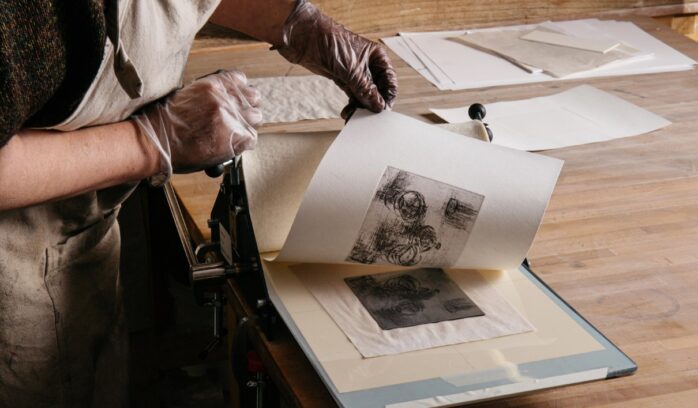
Here are a few tips for getting the most out of your etching experience:
- Choose an appropriate etching plate or block: The surface area of the plate will affect the size and detail of your final prints. You can check the size of plates available at your local art supply store.
- Work slowly and carefully: Easing into etching can be frustrating, but it’s worth it to get great results. Take your time and make sure each line is precise.
- Test out different inks and settings: Different inks and settings will produce different colors and effects on the paper. Play around until you find something that works best for you.
How to Clean Your Equipment?
One of the most important steps in etching is keeping your equipment clean. Here are a few tips to help you do just that:
- Always use a degreaser before cleaning your equipment. This will remove any oils or dirt that may have accumulated on the surface.
- Make sure to clean your equipment in a timely manner. If it’s left uncleaned, contaminants will build up and cause problems when etching.
- Don’t overclean your equipment. Overcleaning can actually damage it and make it difficult to work with. Just take care to clean everything properly without causing too much damage.
Tips for Creating Beautiful Photos with Photo Etching
Photo etching is a fun and easy way to create beautiful images with your home computer. Here are some tips for beginners who want to start etching their own photos:
- Get a good image to begin with. The quality of your finished photo will be largely based on the quality of your starting image. Make sure the photo is large enough so that you can see all the details and is in a resolution that your computer can handle.
- Choose a design or subject matter you’re interested in. Once you have an excellent starting image, it’s time to start designing! There are many different design options available, from simple abstractions to intricate portraits. You can also explore different techniques, such as airbrushing or using stencils.
- Start etching! It may seem difficult at first, but with practice you’ll get the hang of it. Follow the instructions provided with your software or online tutorials, and take your time to make sure each stroke is precise. Remember: patience and practice are key to successful photo etching!

")


